Key Takeaways
- This is a complete rv departure checklist covering both the day before and the morning you leave a campsite, designed to make travel days less stressful.
- Separating tasks into interior vs. exterior categories—and into “day before” and “day-of” timeframes—prevents the frantic last-minute scramble that leads to mistakes.
- Safety-critical checks include verifying slide outs are fully retracted, propane is off for travel, tire pressure meets manufacturer specs, and your hitch or tow setup is properly secured.
- Whether you prefer a printable checklist, a phone app, or a simple Notes document, customize your list to match your specific rig (motorhome, travel trailer, 5th wheel, or van).
- Taking an extra 10-15 minutes to run through a good checklist can prevent thousands of dollars in damage, fines, and dangerous situations on the road.
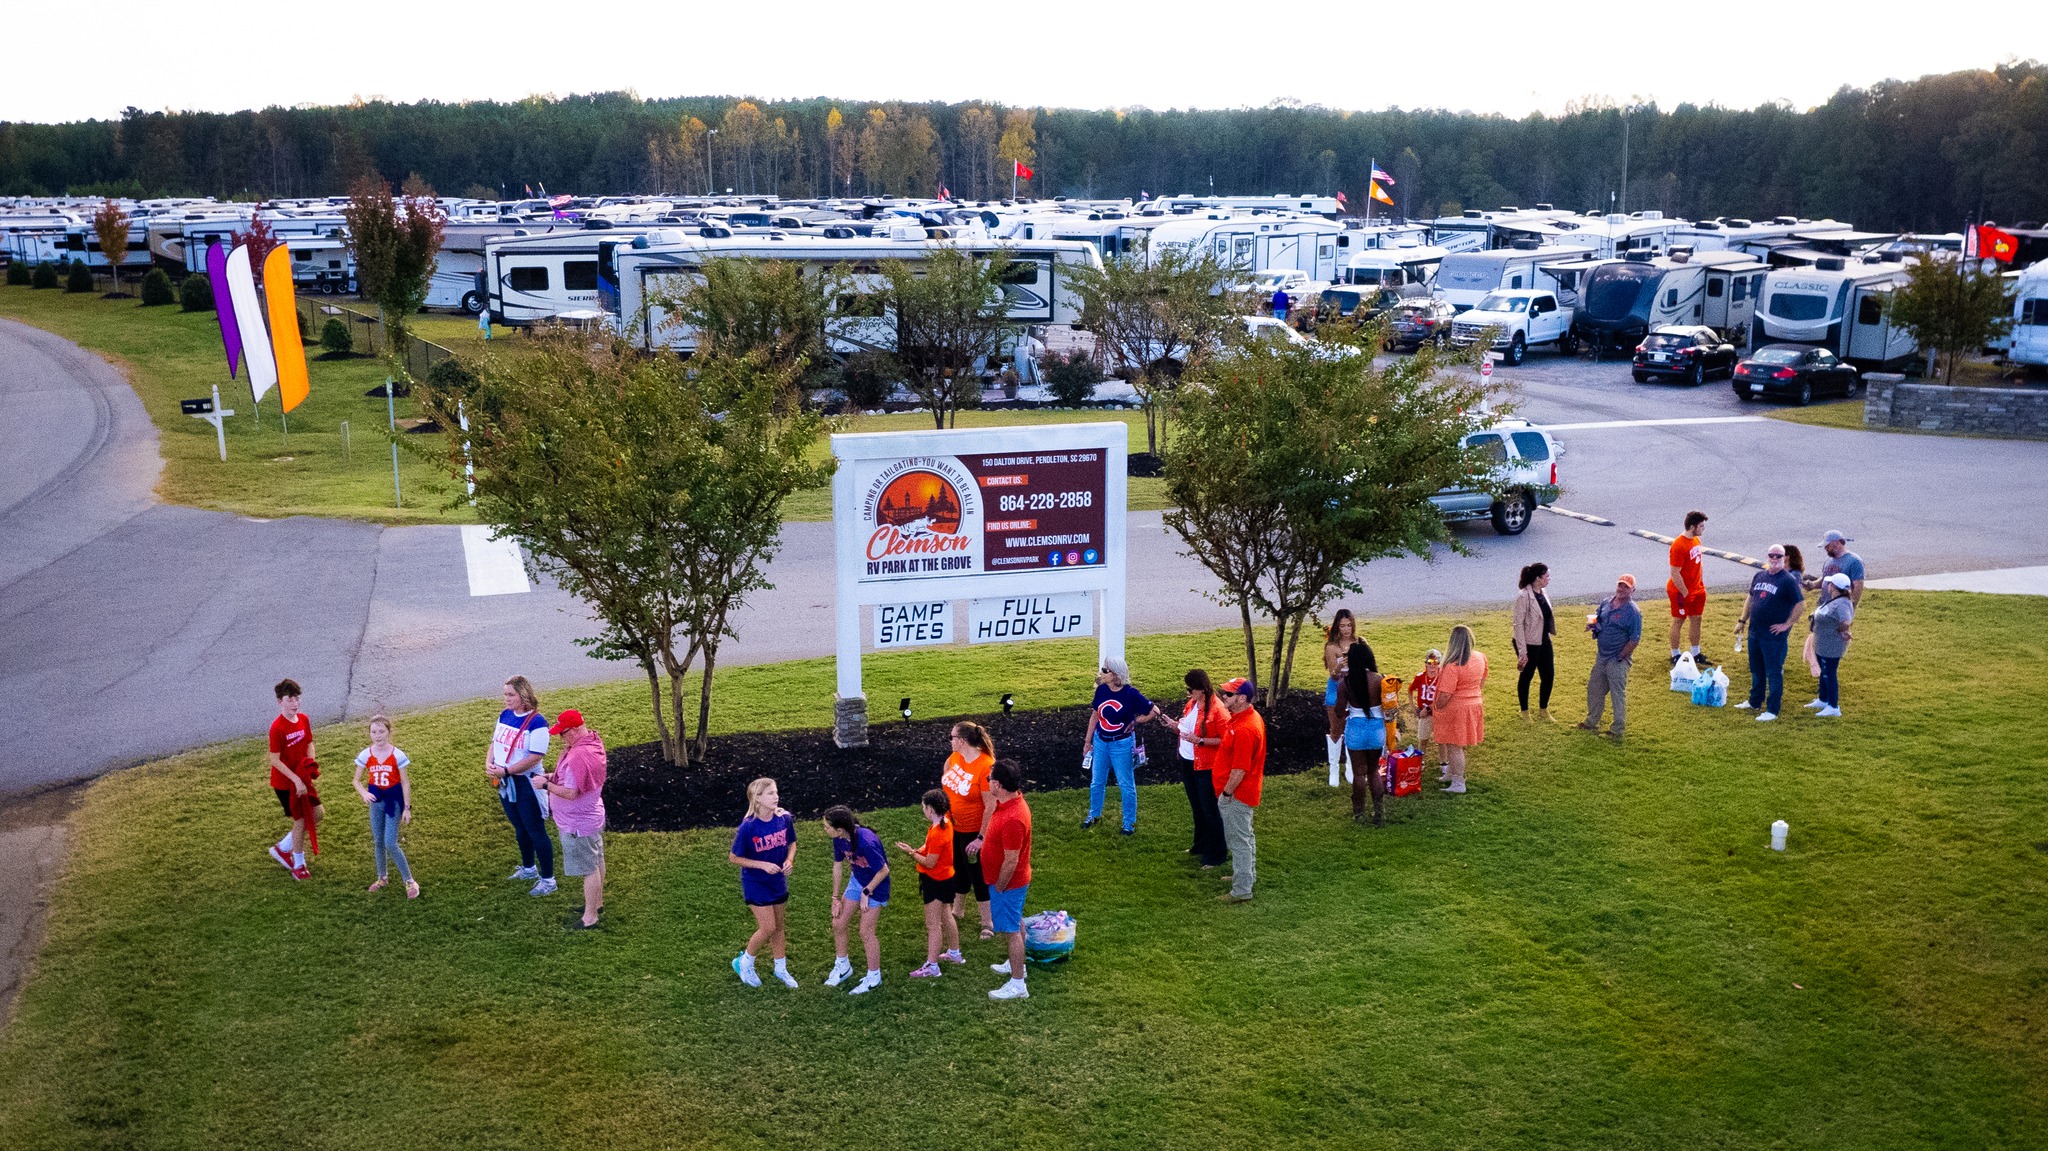
Why You Need an RV Departure Checklist
Even experienced rv owners forget obvious steps on busy travel days. After several relaxing nights at a campsite, the mental shift back to travel mode catches many rvers off guard. That’s exactly when you drive off with the awning extended, the antenna up, or worse—the shore power cord still plugged into the pedestal.
A written rv checklist before leaving helps you avoid costly damage that’s embarrassingly preventable. Slide seal repairs from improper retraction run between $500 and $2,000. Driving with stabilizing jacks down can cause thousands in undercarriage damage. And forgetting to secure loose items inside means everything from coffee mugs to laptops becomes a projectile during your first hard brake.
Checklists also reduce arguments and stress by clearly assigning tasks to each person traveling with you. When family members know exactly what they’re responsible for, there’s no confusion about who was supposed to disconnect the sewer hose or lock the exterior storage bays.
This guide focuses specifically on leaving a campsite—not general packing for your first rv trip—but you can easily adapt these steps for departing from home. The goal is to give you a repeatable system you can print or save on your phone and use on every departure, whether it’s a quick overnight move or a long-haul travel day.
T-24: The Day Before Leaving the Campground
Starting your departure prep roughly 24 hours before you plan to pull out keeps the actual morning relaxed and organized. Trying to cram everything into a frantic two-hour window before checkout is how mistakes happen.
Check Campground Rules First
Before you plan your timeline, confirm the campground’s quiet hours and departure requirements. Most parks require checkout by 11:00 a.m., but some have earlier or later times. Knowing this helps you work backward to schedule tank dumps, showers, and final packing.
Exterior Prep Tasks
- Dump and flush your black tank and gray tank if you’re nearly full. Most rvers prefer to dump the day before rather than rushing through it on departure morning.
- Start your fresh water fill based on your next stop. If you’re heading to a full-hookup park, you can travel light. If you’re boondocking next, fill completely.
- Secure your sewer hose where you can leave it connected if campground rules allow, or fully stow it in your sewer bay if required.
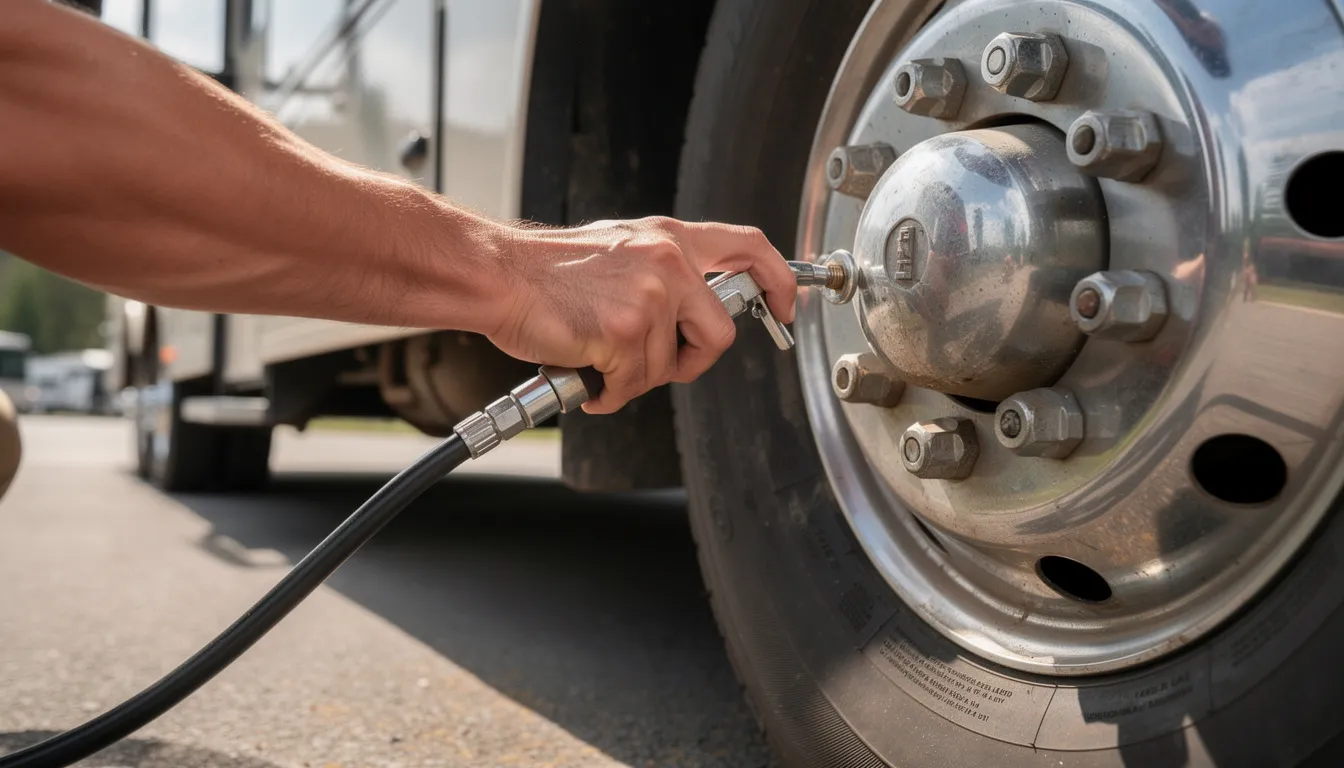
- Inspect tires visually for damage, cracks, or bulges. Confirm lug nuts are torqued to your manufacturer’s spec (typically 90-120 ft-lbs for most rigs).
- Check for fluid leaks under motorhomes or your tow vehicle—look for puddles or stains on the ground.
First “Pre-Pack” of the Campsite
- Walk around and bring in non-essential outdoor gear: extra chairs, string lights, decorations, and anything you won’t need for the final evening. This leaves only essentials outside for your last night, cutting your morning workload significantly.
T-12: Night-Before Interior & Exterior Prep
After dinner on your last night, once everyone is mostly done using the interior and outdoor setup, tackle these evening tasks.
Interior Light Clean-Up
- Wash dishes and stow them securely in cabinets
- Wipe down counters and pack away small appliances
- Return loose items to drawers and cabinets where they belong
- Secure bedroom items you won’t need again: extra blankets, unused toiletries, books, and electronics
This light evening clean-up means you’re not dealing with a messy rig during the morning rush.
Exterior Evening Tasks
- Pack away outdoor kitchen gear, grills, and cooking supplies
- Collapse camp tables and store them in exterior compartments
- Roll up outdoor rugs if they’ll be damp or dirty in the morning (or leave them out if you prefer to shake them off before departure)
- Bring in any remaining decorations or personal items from around your campsite
Plan Your Route
Before you turn in for the night, confirm your travel route and estimated drive time. Identify fuel stops, rest areas, and any reservations at your next campground or overnight stop. Knowing this ahead of time lets the driver focus on the road rather than fumbling with navigation apps while trying to exit the park.
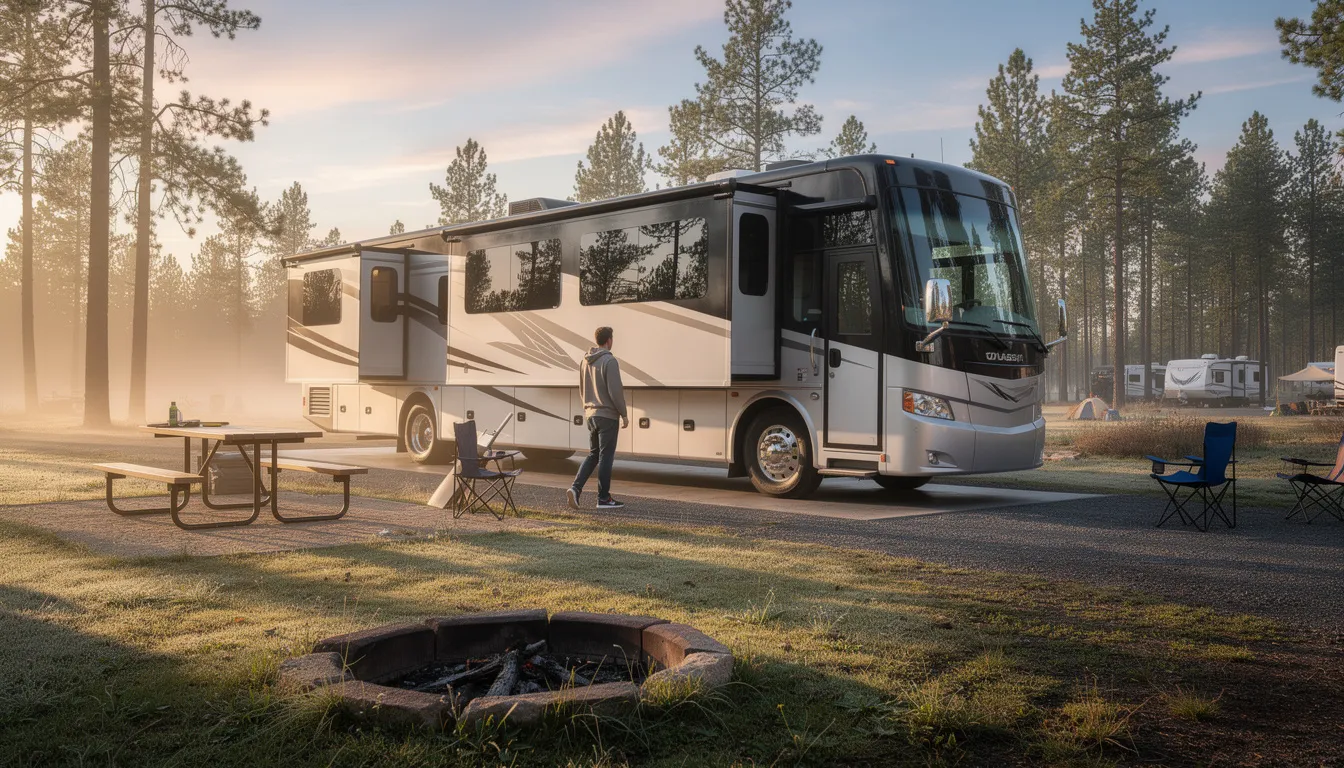
Morning of Departure: Inside the RV
This is the core of your rv checklist before leaving—the interior tasks that happen the morning you actually roll out.
Work in a Logical Order
Start at the back bedroom and move forward through the bathroom, living area, and finally the cockpit. This systematic approach ensures nothing gets missed.
Cleaning & Securing Checklist
- Kitchen: Remove items from counters, secure cabinet latches, latch refrigerator doors, stow dish towels
- Bathroom: Latch shower door, close and lock windows, secure toiletries, close roof vents
- Living Area: Store remotes and electronics, latch entertainment center, secure drawers
- Bedroom: Stow pillows and blankets, close window blinds, secure closet doors
Clear the Path for Slide Retraction
- Trash can
- Pet food bowls
- Portable heaters or fans
- Folding tables
- Laundry baskets
- Any chairs or items near slide edges
Store these in travel-safe spots where they won’t shift during your rv trip.
Final Interior Steps
- Rotate captain’s chairs to driving position (motorhomes)
- Stow TV antennas and any interior mounted TVs
- Secure loose electronics in padded compartments
- Confirm all roof vents and skylight covers are securely closed and locked
- Turn off the water heater, furnace, AC, and water pump
- Switch the fridge to 12V or travel mode
- Turn off all lights to avoid draining house batteries during transit
Morning of Departure: Outside the RV
This exterior section is the companion to your interior checklist, covering all the actions you need to complete outside before pulling away from the campsite.
Water and Sewer Tasks
- Disconnect your fresh water hose from the campground spigot
- Drain the hose completely and cap both ends
- Close the campground spigot as a courtesy to the next camper
- Fully disconnect sewer connections and rinse your sewer hose
- Store the hose and all fittings in a dedicated bin or sewer bay
- Double check that tank valves are closed
Electrical Tasks
- Power down any high-draw appliances still running
- Shut off the pedestal breaker before unplugging
- Disconnect and coil the power cord neatly
- Pack your surge protector or EMS in its storage spot
- Verify no electric connections remain attached to the pedestal
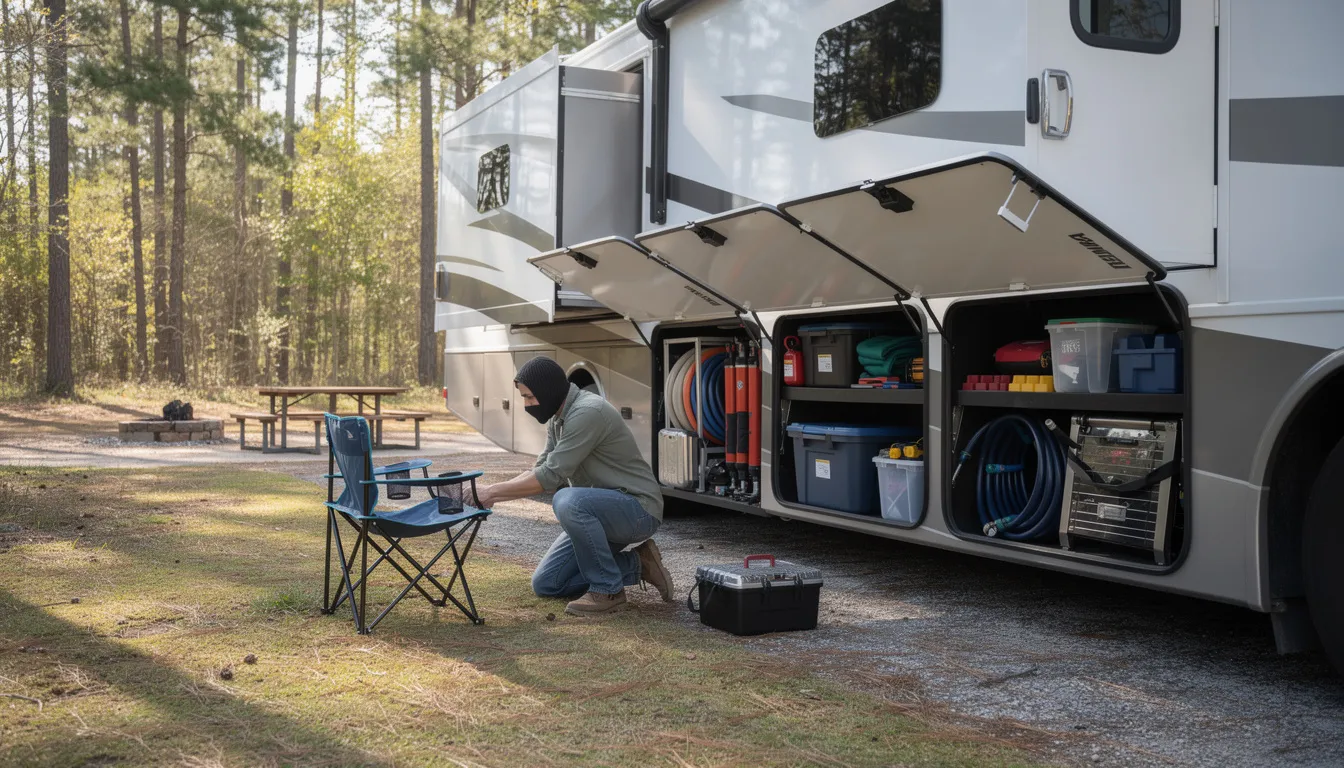
Gear Stowage
- Fold and secure entry steps if they’re manual (powered steps should retract when you close the entry door)
- Close and lock all exterior storage bays
- Pack grills, outdoor mats, firewood (if allowed to transport), and any outdoor toys
- Secure bikes, kayaks, or other exterior items mounted on racks or carriers
Quick Cleaning Pass
- If possible, brush or hose off major mud from steps and mats.
- Clean your mirrors and backup camera lenses for good visibility on the road—obscured views contribute to a significant percentage of RV maneuvering incidents.
Slides, Leveling, and Hitching or Tow Prep
Slide outs, leveling systems, and hitching are among the most common sources of departure-day mistakes, which is why they deserve focused attention.
Retracting Slide Outs Safely
- Walk through the interior and confirm no cabinets are open near the slide
- Check that no objects (chairs, rugs, pet beds) will get pinched
- Retract slides one at a time
- Have another person watch or listen from outside to catch any problems
- Verify slides are fully in before moving the rig
Improper slide retraction causes seal tears that can lead to water intrusion and expensive repairs.
Raising Stabilizer Jacks
- Follow your system’s correct sequence for raising leveling blocks and stabilizing jacks
- For auto-leveling systems, verify on the control panel that all jacks show as fully retracted
- Manually confirm by looking under the rig
- Collect any support blocks or place support blocks in their storage location
- Gather wheel chocks and leveling blocks from around the tires
Hitching a Travel Trailer or 5th Wheel
Step | Action |
|---|---|
1 | Back up your tow vehicle to align with the coupler or kingpin |
2 | Lock the hitch mechanism and verify it’s secure |
3 | Attach safety chains in a crossed pattern |
4 | Plug in the 7-pin electrical connector |
5 | Connect the breakaway cable to your tow vehicle frame |
6 | Test trailer brakes, brake lights, and turn signals |
7 | Set the parking brake on the tow vehicle during setup |
Towing a Dinghy Vehicle
- Connect tow bar arms and verify pins are locked
- Set the towed vehicle in neutral or the appropriate mode per manufacturer instructions
- Install your auxiliary braking system
- Connect the breakaway cable
- Test brake lights and turn signals on both vehicles
- Release the parking brake on the dinghy before departure
Final Safety Walk-Around Before You Leave
The final walk around is your last line of defense before hitting the road. Make it deliberate and slow.
Exterior Verification Checklist
- Confirm all slides are fully retracted (look at seal lines, not just the control panel)
- Verify awnings are completely retracted and locked
- Check that rooftop items like antennas, satellite dishes, and hand rail accessories are secured or stowed
- Confirm entry door is securely closed and steps are fully stowed
- Verify no hoses, cables, or power cord remains attached to campground utilities
Tire and Undercarriage Check
- Verify tire pressure meets manufacturer specs (tires lose about 1 PSI per 10°F temperature drop)
- Check your TPMS display if equipped
- Look under the rig for forgotten leveling blocks, wheel chocks, or support pads
- Scan for any fresh fluid leaks
In-Cab Checks
- Adjust mirrors and seats
- Set your GPS or map app while still parked
- Fasten seat belts
- Agree on your first fuel or rest stop so the driver can focus on the road
- Lock the entry door from the inside if your rig requires it
- Confirm the parking brake is released
Taking these few extra minutes for a thorough walk around can prevent the kind of disaster stories you read about in rv forums—and help you enjoy a safer rv adventure on every departure.

RV Departure Checklist FAQ
How early should I start my RV checklist before leaving a campsite?
The ideal timeline depends on your personal pace and how much gear you have deployed. A general rule: start light tasks the afternoon before (dump tanks, bring in extra outdoor items), do main packing and cleaning after dinner the night before, and plan for 1-2 hours of final teardown on departure morning. For early-morning departures where you hope to hit the road by 6 or 7 a.m., do as much as possible the night before and keep only essential disconnection tasks for morning.
Do I need a different departure checklist for a motorhome versus a travel trailer?
About 80-90% of the steps are identical regardless of rv type. The main differences involve hitching (travel trailers and 5th wheels require connecting to a tow vehicle), toad setup (motorhomes towing a dinghy car), and how slide/leveling controls are laid out. Many rvers create one master checklist and simply skip the sections that don’t apply to their rig.
Is it safer to travel with the propane on or off?
Most safety experts and many rvers recommend shutting off propane at the propane tank for driving unless a specific appliance requires it or local laws dictate otherwise. Some states prohibit travel with propane flowing to the fridge or other appliances. The safer alternative is switching the fridge to 12V or AC power from your house batteries while traveling. If you forget to turn propane off, residual leaks create fire risk, and some tunnels and ferries prohibit entry with propane valves open.
What if I’m only moving a few sites over in the same campground?
Even for short moves within the same park, you still need to bring in slides, disconnect all utilities, retract stabilizer jacks, and secure loose items. The physics of travel don’t care how far you’re going—an unsecured coffee pot becomes a projectile whether you’re driving 50 feet or 500 miles. That said, you can keep some exterior items semi-packed if you’re comfortable and plan to redeploy immediately at the new site.
How can I remember all of this when I’m new to RVing?
Don’t try to memorize everything—that’s what checklists are for. Print a one-page version and laminate it, use a checklist app on your phone, or keep a digital copy in Google Docs or Notes. Assign specific tasks to each person traveling with you. Many rvers stick their checklist near the entry door until the routine becomes automatic, which typically takes 10-15 departures. The rv life learning curve is real, but a consistent system makes it manageable.